Labels

Showing posts with label Sewing. Show all posts

Saturday, November 17, 2012

The Case for a Kindle!

A couple months ago I noticed my niece was carrying her Kindle in her purse withOUT protecting it.  I was shocked!  Aghast!  Befuddled!  HOW could she keep it in her purse where it could get knocked around, scratched by a key, a nail file, a pack of Tic-Tacs?  Oh, no no no, it would not do for this OCD person.

So I sought to rectify the situation by crafting her a quick slip-in cover.  I scanned my fabric and settled on a quilted fabric I already owned.  I loved this blue and yellow and often looked at it longingly wondering how I should use it - problem solved.  There really was nothing to it.  I wrapped the fabric around my own Kindle for measurements (yeah, that's how I measure stuff) and pinned it.  I quickly stitched up the sides and sewed some gold fabric ribbon around the top as a binding.  Tada!

Since she wasn't using a case/cover at all, I didn't want her to have to deal with any type of closure, so buttons, Velcro, snaps and the like were all out.  I crafted the cover so the Kindle fits snugly inside and doesn't have much of a chance to slip out or escape.  It must have worked, because she's still using it today.  I'm glad she's keeping her little device safe and snug, wrapped in it's own 'blanket' in her purse :)     


Skip To My Lou

Sunday, November 11, 2012

Feeling Like Fall!

Even though we have a little snow on the ground, it still feels more like fall than winter.  Maybe it's because I've seen the forecast and I know it's supposed to warm up next week.  Anyhow, this afternoon I was in the "autumn" spirit and wanted to be all domestic and homey (no, not like the gangster, more like the house wife :)

Yesterday at JoAnn fabrics I picked up this adorable pumpkin print on sale for about $3 a yard, and made some festive cases for the little throw pillows on my couch.  I always make holiday appropriate cases for the small pillows for some reason and never for the large ones behind it.  Hmmmm, I'll have to work on that.

I thought they turned out really cute and they add just the right amount of 'Thanksgiving' to my couch!

Pumpkin Pillow Cases - just right for Thanksgiving!

I love my Crock Pot.  Let me say it again, I LOVE my Crock Pot.  And you know how I hate to cook, which is why I love the slow cooker.  I especially love dishes where you throw everything in and just leave it 'til it's done.  That's what this was, and it was E-A-S-Y peasy, lemon squeezy.  Let me assure you, if I post a recipe, it's gonna be a snap!

I found the recipe on Pinterest and admittedly I rushed it a bit because I wanted dinner to be ready when Cory came back from hunting.

I cooked it for about 2.5 hours total.  About 1 hour on high and then the remainder on low.  It was still just a smidge soupy, but none of us minded because it had a great flavor.  I have to be honest, it's not quite as good as my mom's oven baked mac 'n cheese, but it's a pretty close 2nd.  Oh, and it has fewer ingredients, and takes less effort since the noodles don't have to be pre-cooked.  BONUS!!!!  I garnished mine with a little cheddar on top and it was the perfect fall-comfort-food!  Maybe next time I'll spice it up with some ham.  Yum!  The recipe is posted below the photo.

Slow Cooker Mac 'n Cheese!

Crock Pot Mac and Cheese

3/4 bag of uncooked macaroni or hearty pasta (9 oz. or so - I had a 17.5 oz. bag and I dumped 1/2 in)
4 cups of milk (I used 1%) 
2 eggs
4 cups shredded cheese (I used all cheddar)
1/2 t kosher salt (I guess I used Gentile salt, 'cause mine wasn't Kosher) 
1/2 t black pepper  (really?  I just sprinkled some in - it's pepper for pete's sake.  How can you go wrong?)
1 tsp dried mustard (OK, I totally omitted this step because....just NO!)

The Directions. 

Spray crock well with cooking spray. In a mixing bowl, whip egg and milk together. Stir in spices.

Add cheese and noodles, and stir well to combine. Pour the mixture into the crockpot.

It will be very liquidy.

Cover and cook on low for 2-5 hours, or on high for 1-3.

*Makes about 5-6 generous servings.  I don't think my crock would have let me double the recipe, but I know I could have done 1.5 recipes and if I needed more than that I would have to break out my other crock pot. 


Wednesday, October 24, 2012

AWANA Bags!

Since our church started an AWANA program this fall, I've wanted to make a bag for Autumn to keep her Awana book and Bible in.  She likes having different bags for each activity, so she needed one for Wednesday nights.

There is NOTHING fancy about this bag, but the main point is, I made it and Autumn loves it.  I made one for her, and one for her cousin Mark.  Simple, yellow bags embellished with dog bones (because that's the award they win in T&T for saying verses) and the first initial of their name, along with coordinating handles.

Last week my mother in law explained to me verbally how to complete an embroidery stitch and I was determined to give it a shot.  Even though it looks like a drunk did it, trust me, it looks a LOT better than just stitching a straight stitch around the letters.  And hey, it was my first try, so I really should cut myself some slack!


Friday, September 7, 2012

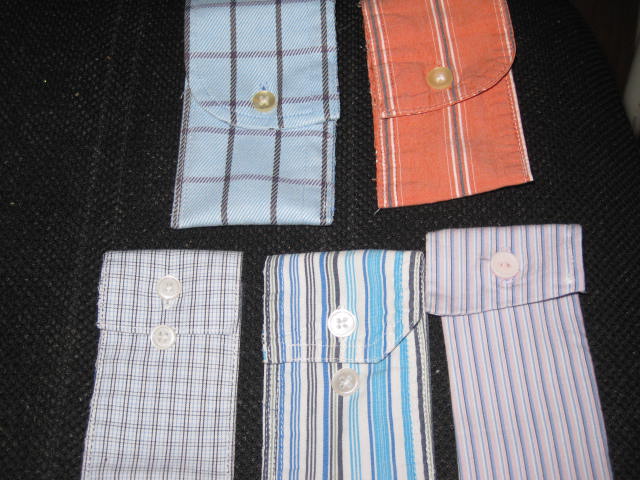
Shirt Cuff Pockets!

After seeing some of the cutest shirt-sleeve pockets on the Internet a few weeks ago I was determined to make my own.  I love a case, a pocket, a bag, whatever.  Anything that compartmentalizes another thing is right up my alley.

So I headed out to my local thrift store and snagged 5 long-sleeved shirts for about $6.  They sat in the bag for about a week, then I washed and folded them, and set them in the chair in my computer room, where they sat for several days.  Until tonight.  Feeling inspired, I cut the cuff off one of the sleeves, squirted the cut-edge with a little Fray Check, stitched up the sides and folded the flap down.  And that's it.  Now I have 5 adorable little pockets.  I should slip one in my purse and use it to hold chap stick, money, gum, my bluetooth, or any number of small items that always seem to work themselves to the bottom of my bag.

Pockets will vary according to the shirt's cut, style, and size.  A man's large or XL shirt will usually make a much larger pocket than a woman's small.  The pocket on the far right is a woman's shirt with a slight french cuff and it's my least favorite because not only is it quite narrow, it also has a slanted flap.

I slipped a gift card into each pocket and it fit perfectly except for the woman's shirt cuff which was, as I said, too narrow.  But I love the idea of using them for gift cards because it's like getting two gifts in one :)

Saturday, June 16, 2012

Keepin' It Clean!

Usually when I travel I toss my toothbrush and toothpaste into a Zip-loc bag before throwing it in my make-up bag.  After the first use, I hate the feel of the Zip-loc when I reach my hand in to retrieve my toothbrush and paste.  It's all wet, and I've usually managed to get a bit of paste on the inside of the bag - gross!  It's not a huge deal because it's disposable, but then I realized, there IS a better way.

Using a little "Pinspiration" and a regular wash cloth, I fashioned a little toothbrush kit.  I created 4 "pockets" to hold toothbrushes, paste, floss sticks, whatever.  After using the toothbrush, I will return it to it's pocket, roll the whole thing up and tie it securely.  When I get home, I can toss the washcloth into the machine and "good as new."

With our family vacation on the horizon, I fashioned one for myself (pink), Cayla (aqua), and Autumn (green) and I made a fourth one for Kelly (in orange because it's her favorite) because she excitedly agreed to attend Kids' Camp with me! 

Bring on the fun, summer, "tidy" vacations :) 


Monday, April 2, 2012

Men's Dress Shirt Re-purpose!

About 6 months ago my sister was getting rid of this really cute dress shirt and I didn't miss the opportunity to snap it up. I knew what I wanted to do with it the minute I got it from her, but it's taken me until now to actually DO it!
Starting underneath the arm, I cut from one seam  to the other to make the skirt.

OK, so my pictures are really out of order.....this is the bow I attached to the neckline of the tee shirt.  It's made from one of the shirt sleeves.

I cut off the sleeve cuffs and attached them to the sleeves of Autumn's tee shirt, to make the outfit look like it was made as a set.  Not gonna lie - these were a beast to sew on.  Initially I pinned the cuffs on and attempted to use my machine, but that failed, so ultimately I did a quick basting stitch by hand to secure the sleeve, then I ran it through my machine.  Much more effective!

Naturally, I retained the buttons from the original shirt.  But Autumn was funny, she was paranoid that a button would come off and her skirt would fall open - so I stitched it closed from top to bottom.  Problem solved!

Here's the final outcome.  An elastic waist skirt, and an embellished tee, all from a dress shirt!  Tomorrow I'm heading to Hobby Lobby to find some alligator clips.  My plan is to make a bow from the other sleeve and have her wear it in her hair!  I love it when a plan comes together :)

Find hundreds of amazing projects (including mine) here:

Skip To My Lou


Saturday, March 24, 2012

Carrot Patch!

In an effort to add to my Easter decor, I fashioned a few carrots out of some orange and green fabric.  I think the dark orange ones look almost edible!  Happy Spring!


Wednesday, March 21, 2012

Fabric Flowers!

First day of spring and the weather report called for SNOW!  I opted to create my own flower garden indoors.

Begin by cutting a circle (mine is 3").  The size of the petals will be determined by the size circle chosen.  Bigger circles mean bigger petals and so forth.  Once you have your initial circle cut, and are pleased with the size, cut 4 more.  This will give you 5 circles, enough for one flower.  If you want a flower garden, I suggest you begin cutting zillions of circles.

Fold the circle in half!

Then fold it in half once more, until it looks like the picture on the right.

Using a heavy weight thread (I used hand quilting thread), begin stitching  through the folded circle.

Once you've finished stitching the first petal, cinch it down on the thread so it will scrunch together.  Repeat with the following 4 circles.  Once you get all 5 petals stitched together, close the flower by sewing the first and last petal together.

The tinier the stitch, the tighter the petals will be.  Once completed, the flower has a tiny hole in the middle.   Camouflage this with buttons or other accessories.  Then decide how to use them.......embellish clothing, bags and hair clips, stitch them together into a banner, or assemble them in a circle for a spring wreath.  The possibilities are endless, although I'm probably just going to toss mine in a bowl and display them in the dining room :)

Find me here:


Thursday, February 23, 2012

Repurposing a Tee-Shirt!

After repurposing tee-shirts into bags at co-op this morning, I was inspired to create yet another draw-string bag for each of the girls.  Using a couple of tees that Cayla had outgrown, I made the first bag for Cayla.  Tutorials aren't really my gift, but I tried to include a lot of pictures and will try to explain the steps - I know how I LOVE a basic tutorial when I'm ready to make something, so I assume there are others out there just like me!

This tee had a ruffle at the bottom, so I immediately cut that off with the intention of using it later for the draw strings - but we'll get to that.

I then cut off the top of the tee, right underneath the arms - this way you're not dealing with the neckline and odd proportions from the sleeves.

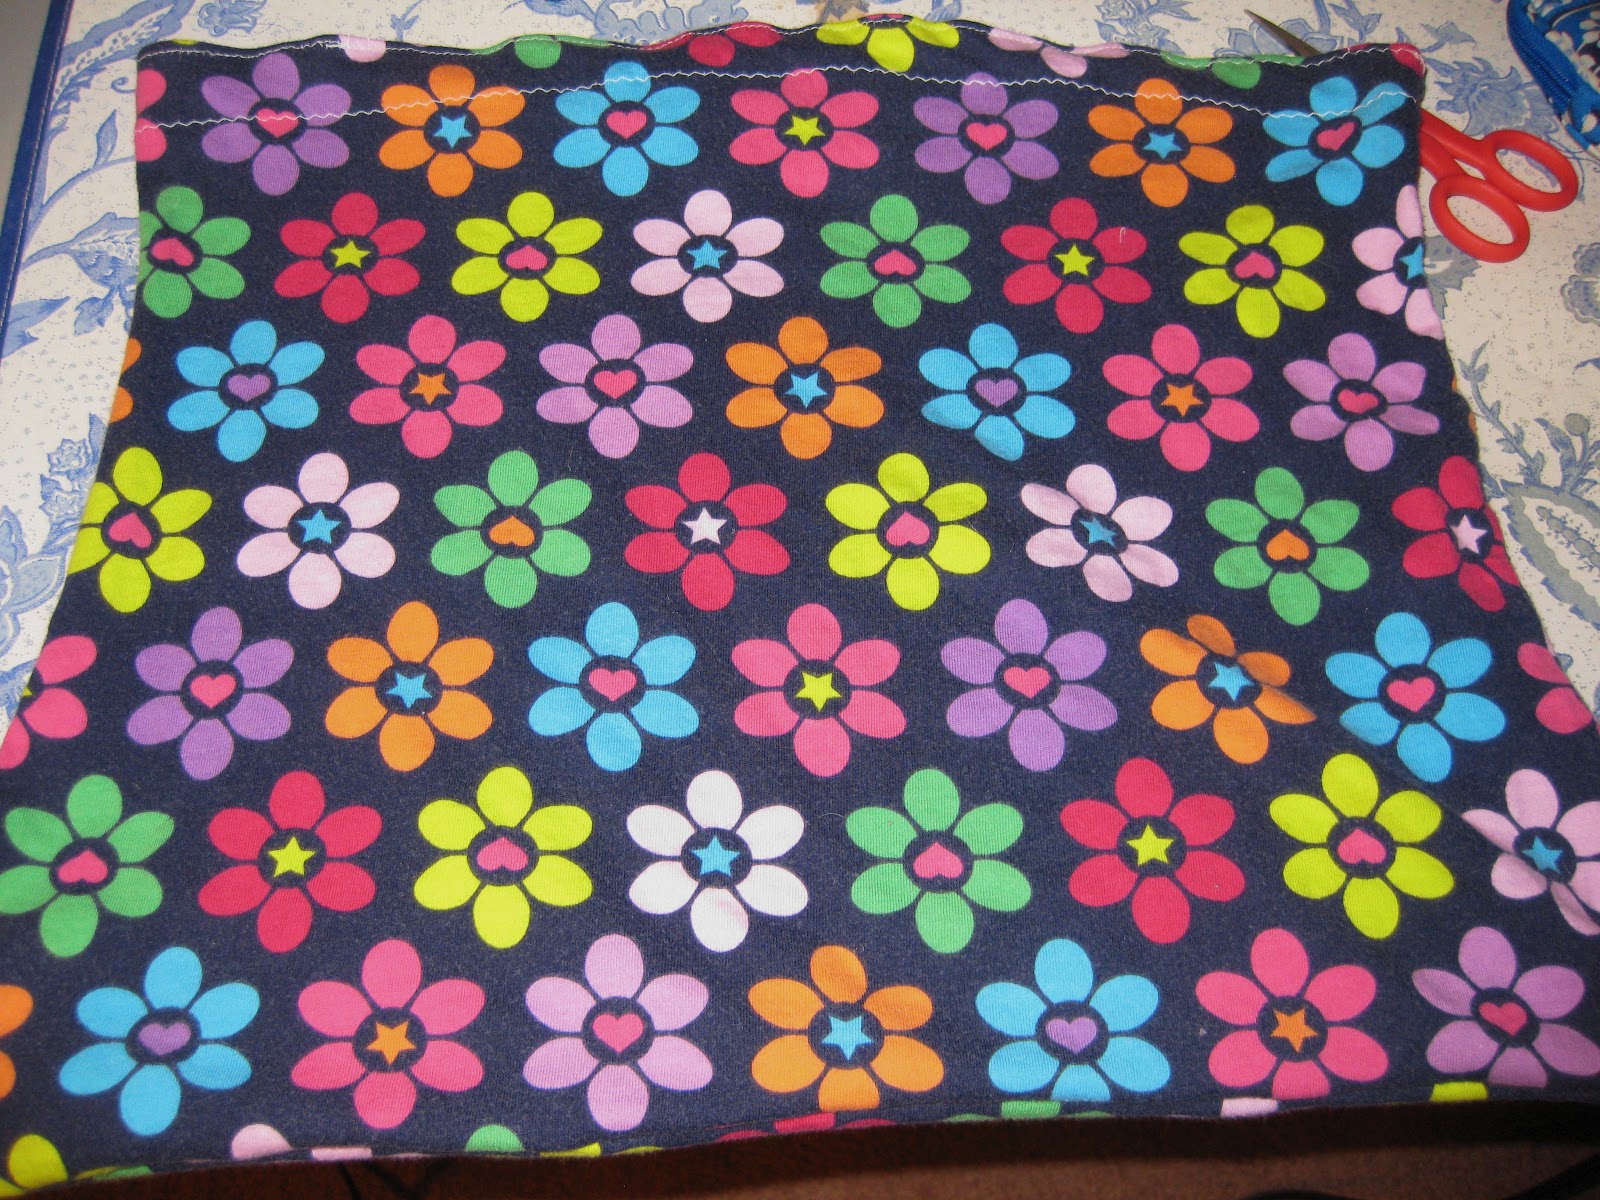
Once you've cut off the top and bottom of the tee shirt, you should be left with something like this - a big tube of fabric.

I turned my tube inside out, so the flowers were on the inside, and then I rolled  the fabric down a little to make a casing.  I have no clue how big this casing is because I never measure anything.  I then stitched all the way around the turned-down part of the casing, so in essence, I have a little hem at the top.  I always like the hem to be 'crisp' so I create another stitch at the top of the hem.

If you click on this photo and enlarge it, you will see that I have two stitch lines at the top around the casing.  The stitching at the very top is not necessary, it's just what I prefer.  Anyhow, after making the casing, flip your fabric around and sew the bottom of the bag closed.  I usually use a zig-zag stitch here and I go over it twice to reinforce it.

These little pieces are from that ruffle that I cut off at the beginning.  You can use ribbon or  new shoe laces or anything you want for your draw string, but I was experimenting with the same fabric as the bag just to see how it would turn out.  I basically just took the ruffle and cut two long strips.  Your draw string needs to be the width of your casing (width of your bag) DOUBLED, plus a little more to tie off.

Once you have your draw string ready, place a safety pin on it to ease in threading it through the casing.  Slip the safety pin through the hole in your casing (if you forgot to leave a hole in the casing, no big deal - it's jersey knit - just go back and cut a tiny one, I promise, it won't matter with this fabric and no one will notice).

Here is my first drawstring - I ran it through the hole on one side of the casing/bag, and continued all the way around the casing until it came out the SAME side.  Now take your other draw string, attach the safety pin and run it through the other hole.  Be sure to go all the way around your casing and come out the hole where you started this string.  Now you have a double draw string.

Here are my drawstrings after they've both been run through the casing.  The one on the left started in the left casing hole and came out the left casing hole.  The one on the right started in the right casing hole and came out the right casing hole.  Trust me, it's easier than it sounds.  I mean, you have seen a draw string bag before so I'm sure you get it.  (You can also have a single drawstring by running one string through the casing and leaving it at that - but I like a double one because then you can firmly grasp a side with both hands and really yank it closed.)

Once the strings are in place, tie a knot in the ends of each set of  strings to prevent them from slipping back into the holes in the casing.

That's it!  The instructions make it seem a lot more complicated than it is - but trust me, it's simple.  I basically learned to do it by just trial and error.

I decided I didn't care for the draw strings made of the tee shirt fabric because knit has a propensity to roll up and this one chose to roll the WRONG way, so it looks like I used white draw strings instead of matching ones.

Autumn's bag is the exact same style and size however hers has drawstrings made from coordinating pink and blue gross grain ribbon.

I have made countless draw string bags and they're ideal for just about everything - but mostly my kids love them because they have an extreme fondness for bags, just like their mom :)

Friday, January 27, 2012

A Perfect Pair!

From the day I bought my blue tooth I have been clipping it onto a pocket in my purse, using the ear piece.  But I cannot count how many times it's 'jumped' off the pocket and settled at the bottom of my purse, inside the pocket, or underneath one of the myriad contents of my ever growing handbag.  I knew I needed a solution, but I wasn't sure what that solution was going to be......until today.

It's certainly not the world's smallest drawstring bag, but it is pretty small, and in my opinion, pretty cute.  It will be the perfect companion to hold my blue tooth in place, exactly where I want it.  Just in case you're curious, since the blue tooth is made of plastic, it's prone to slipping and sliding.  A fabric bag will be much less apt to move around my purse and should, more than likely, stay where I put it.  Notice I said 'should.'  :)

I made a similar bag, with a double draw-string for Cayla's headphones - but I didn't take a picture of it :(

I don't know why I never thought of this before, even though I've been a touch paranoid that I was going to lose my blue tooth.  It's not that I couldn't buy another one if I did, but who would want to do that?!  Besides, I got this one at 75% off and the chances of finding such a bargain again are probably slim!  So there you have it.  A tiny blue tooth and a tiny bag.  What a perfectly CUTE pair!

A Banner & A Bag!

In early January I put away 8 Rubbermaids filled with Christmas decor.  So you can imagine my sadness when I hauled up my one, lone Valentine's decor box.  In an effort to expand my decorations for V-Day, I created this simple heart banner.  Made of 12 felt hearts, top-stitched and adorned with hand-sewn buttons, it gave a bit of flair to the window across from my dining room.  Now I only need to make about 700 more items so my Valentine decorations boxes can rival my Christmas boxes!

Heart banner; felt with buttons!

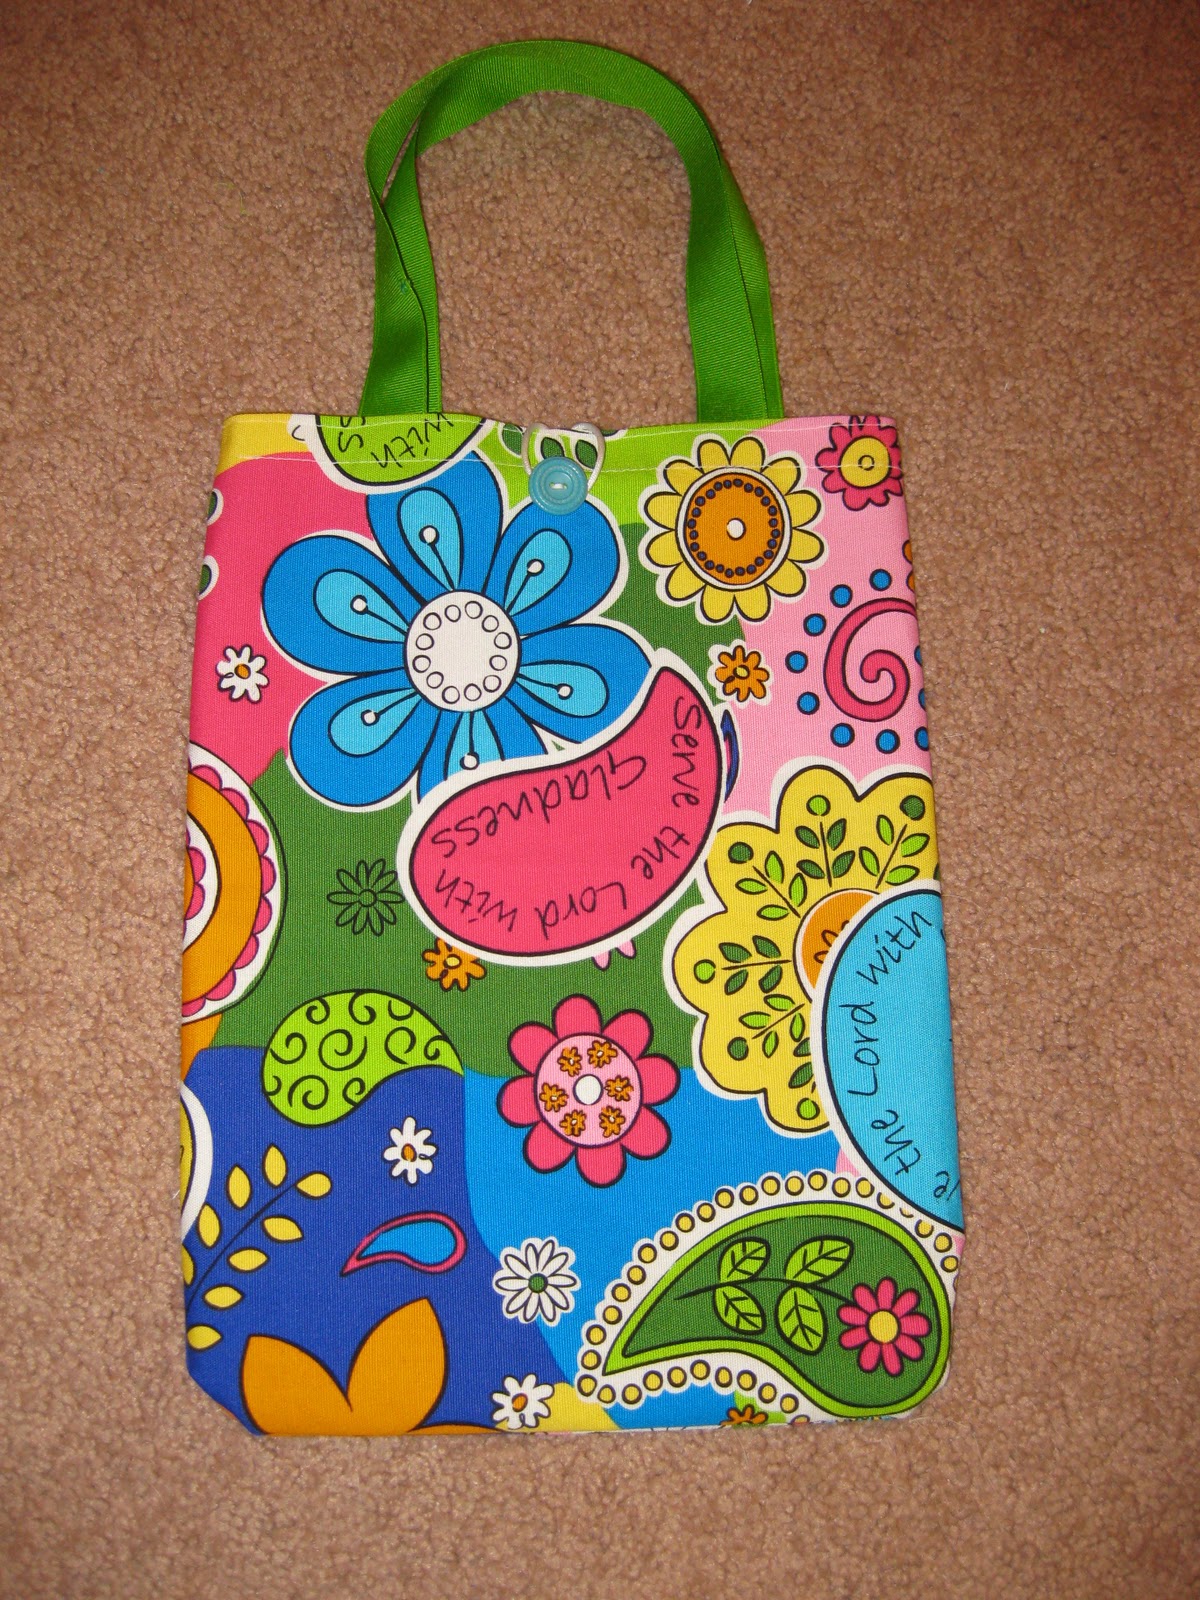
Last week at the LifeWay store I found this darling fabric placemat in the clearance section for a mere $.39 cents.  I couldn't resist.  I brought it home and Cayla instantly loved the bright colors; so tonight I created a simple church bag that she can't wait to carry with her next week!

Weekend Wrap-Up Party Here:

Monday, January 16, 2012

Owl Craze!

Inspired by a cute little stuffed animal my friend makes, I set out to design my own fluffy stuffie.  After looking online for a while, owls seemed like the most logical choice since they're easily identifiable just by the shape of their eyes and nose.
I created my own 'pattern' on paper and it took a bit to get the 'body' correct.  If it's too round, it looks more like a cat, so it needed just a bit of bulk.  After getting it where I wanted it, I sewed up the green owl in about 20 minutes.  The green one has jersey knit eye-whites which are reinforced with fusible pellon.  The other two are totally made of fleece so they went a little faster.  Cayla's is the pink one (named Hootie) and she chose white buttons for her eyes.  The purple one is just another demo I made to play with eye direction and shape as well as other features, like the hair bow and size of the nose.

At roughly 5" wide by 6" tall, they go pretty fast and require minimal materials, so I'm looking forward to shopping for some adorable buttons and maybe some crazy-patterned fleece (like plaid) to give them a ton of character.  OWL be sure to show you pictures as I create more of these little guys!