Labels

Monday, June 20, 2011

Happy Retirement Barb!

On Saturday we celebrated my mother in law's retirement.  It was a wonderful gathering of friends and family.  I apologize some most of the photos are so lousy, but I think candids are difficult to capture without getting right in people's faces.  And I'm sure most of the people are glad I didn't get in their
face :)

Um, clearly this is the cake!
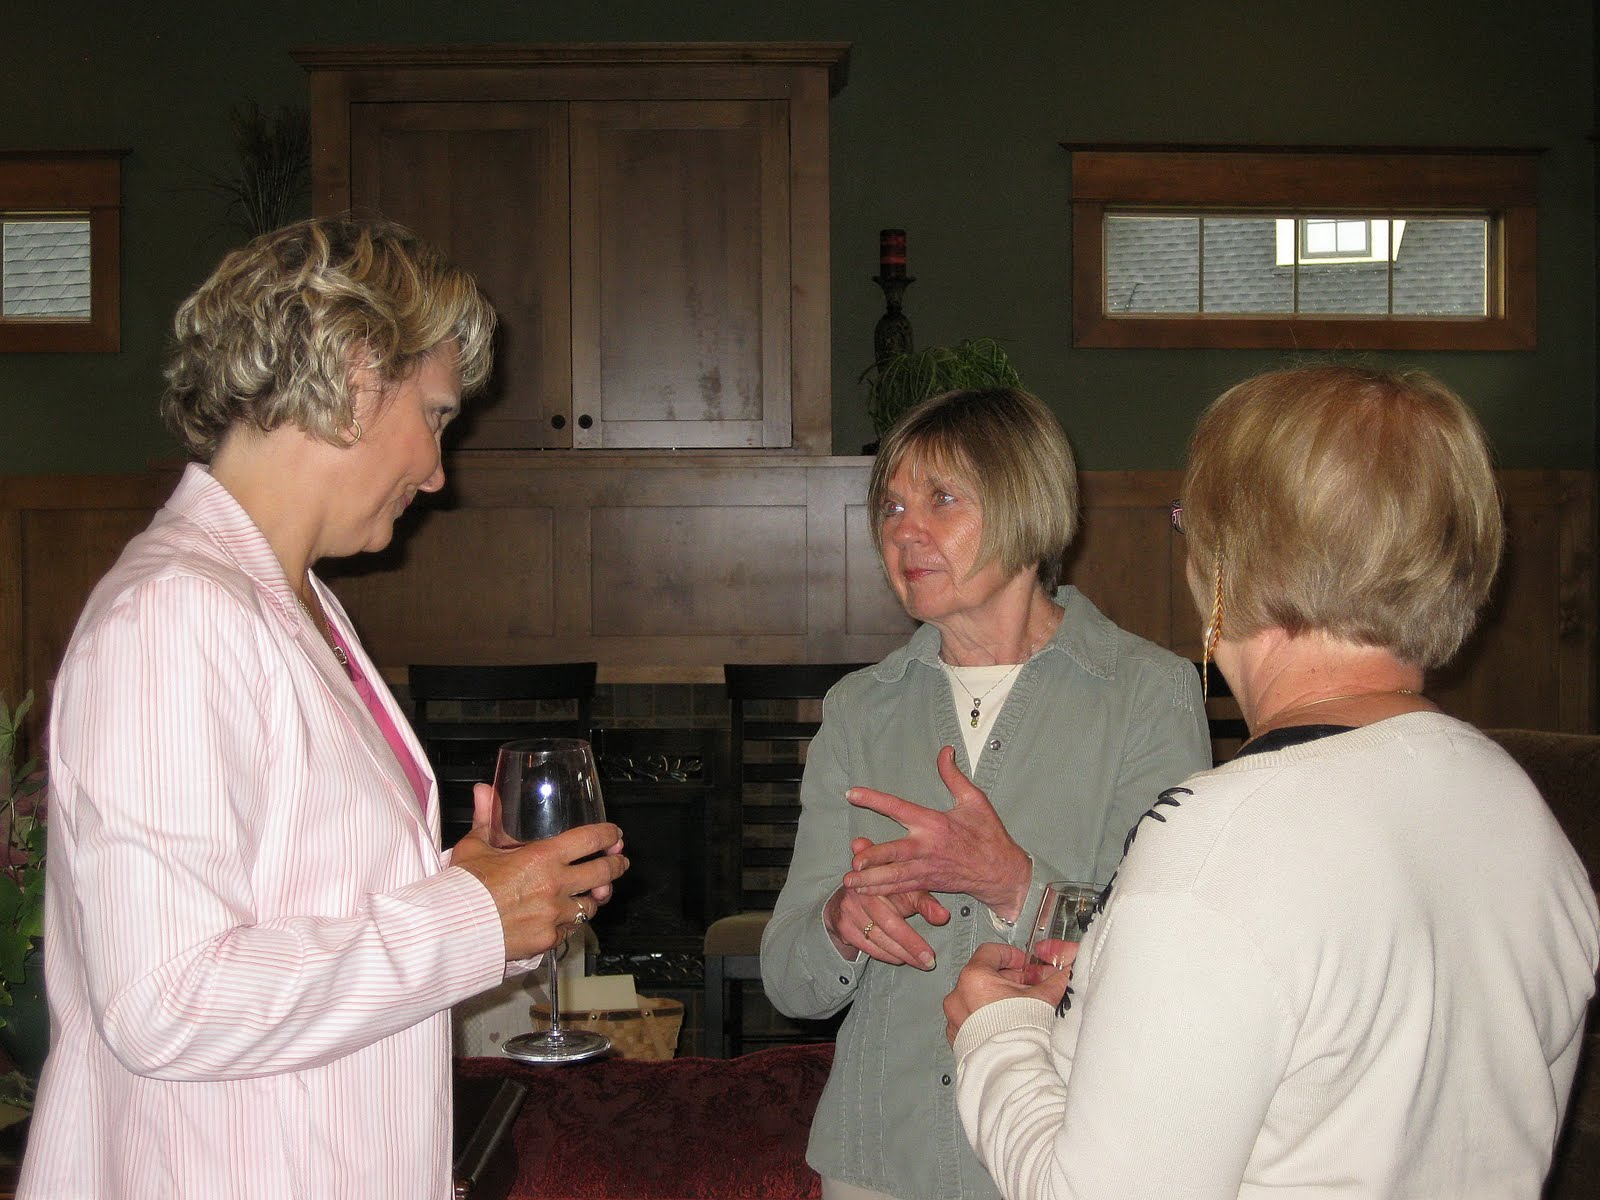
My sister in law Andrea.  As always, a gracious host.

Barb and her sister, Aunt Pam!

Grandma (Barb's mom).  Can you believe she's over 90?

Table setting....minus a few foods, but I tried to capture it before people began eating!

The kid's table downstairs.  Chicken nuggets and macaroni & cheese.  Does it get anymore kid-friendly than that?!  :)

One of my favorite people!

My gorgeous niece, Caitlin, with Barb.

My Autumn with Grammy Barb.

Grandma and Aunt Pam.

My other gorgeous and incredibly gifted niece, Lisa Dawn.  She entertained the crowd with beautiful music.

Tina (Barb's former co-worker) and Tom, Barb and my honey!

Barb's long time friends Cheryl and Sandy, with Grandma.  Sorry I caught grandma at the wrong moment :(

My typical candid....backs of heads.  From left to right are Dick, Jim (father in law), Steve and Cory.  Dick and Steve are old friends of Jim's that go waaaaaaay back :)

Rachelle and Kelly (former co-worker).  I instantly connected with them as they're from my home town and Kelly was a former Bomber!

Cory, Tom and Uncle Walt (also a former Bomber).

Tina, Carolyn (Barb's former co-worker) and the back of Aunt Pam's head!  Dang it!

My Cayla.  Such a willing subject!

Cory with a childhood friend, Brock.

Jigs (Jim's cousin) and Barb.

Bettie (Jigs' wife) and Grandma!

Andrea, Caitlin and Cheryl

Ron and April (Barb's former co-worker).  I love April.  She goes to church and she home schooled her children.  Needless to say, we have some things in common :)

Tuesday, June 14, 2011

Parties & Projects......Bees & Berries!

The last 5 days have been a flurry of activity as I prepared for Cayla's 10th birthday party, along with keeping up on a few crafts/projects and getting some yard work done.  Since a picture is worth a thousand words, I thought I'd save you most of the words and just post some pictures with a few captions.

Cupcakes taken to CrewKID at church on Wednesday night, in honor of Cayla's 10th birthday!

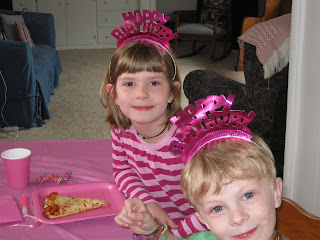
Cupcake centerpiece for Cayla's "Pink Party" celebration with her cousins on Thursday.

All ready for Cayla's "Pink Party."

Wherever there's food.......there's Chuck!

Pizza and cupcakes with family!

The boys really were good sports about all the pink!

I think Mark actually liked it.  That smile says it all :)
Presents!!!

Quite a few people gave her cash so she's had a blast shopping for her own gifts!

Lisa and I bought trays & chalkboard paint for the kids to make portable chalkboards at Cayla's party.  They had a blast.  Tip 'o the week though......the paint sticks significantly better to wood surfaces rather than metal!

A celery green drawer front that I painted with chalkboard paint.  Lisa and I each made one and they turned out really cute!  I plan to make some more chalkboard pieces so stay tuned.  I know you can't wait!  ha ha!!!
This chair was left at our house (one of the few things remaining) when we moved in.  On Sunday night, after sanding off all the rust Cory painted it metallic blue.  It's going to look so vibrant on my back patio.  Can't wait for it to fully dry so we can use it!

Saturday afternoon I made Berry Quartet Jam.  It's a blend of strawberries, raspberries, blackberries and blueberries.  It's delicious!  And yes, it warranted a picture!

A blank drawer front being prepped for a project.

Saturday I painted the drawer front.  The unfinished wood absorbed the paint super quickly and I think the lack of coverage made for a wonderful 'distressed' piece, but I did give it a couple more coats because I wanted to make sure the words I was going to put on it would really show up.

Finished.  Simple and cute!

Another drawer front.  I love them, and we have a ton of them left over from the pallet of cabinet doors and drawer fronts Cory purchased years ago from a bargain wood store.  I had originally painted the word 'beach' on the piece, but ultimately didn't like it.  So I painted over it and using a template and some scrapbook paper, I cut out the letters and decoupaged them onto the board.  It's hanging in my bathroom and looks pretty good.....for now :)

On Sunday evening we celebrated Cayla's birthday with Cory's family.  We left up her "Pink Party" decor  from Thursday which made for an easy set-up for Sunday's party.

This photo is fake.  My camera wouldn't click fast enough to capture her actually blowing out the candles, so I had her re-enact it for my photo op.  Although, now that I've told you, not sure why it mattered :)

Opening presents!

She received a lot of money which she promptly spent on Wii games and LaLa Loopsy dolls, but she did receive a lava lamp from her grandparents.  Chuck, the hippie dog, is intrigued!
After a few hours of plugging it in, her lamp was glowing in all it's glory.  She loves it!

Caitlin and Autumn.

If he could talk I wonder if he'd tell us to stop putting stupid things on his head!

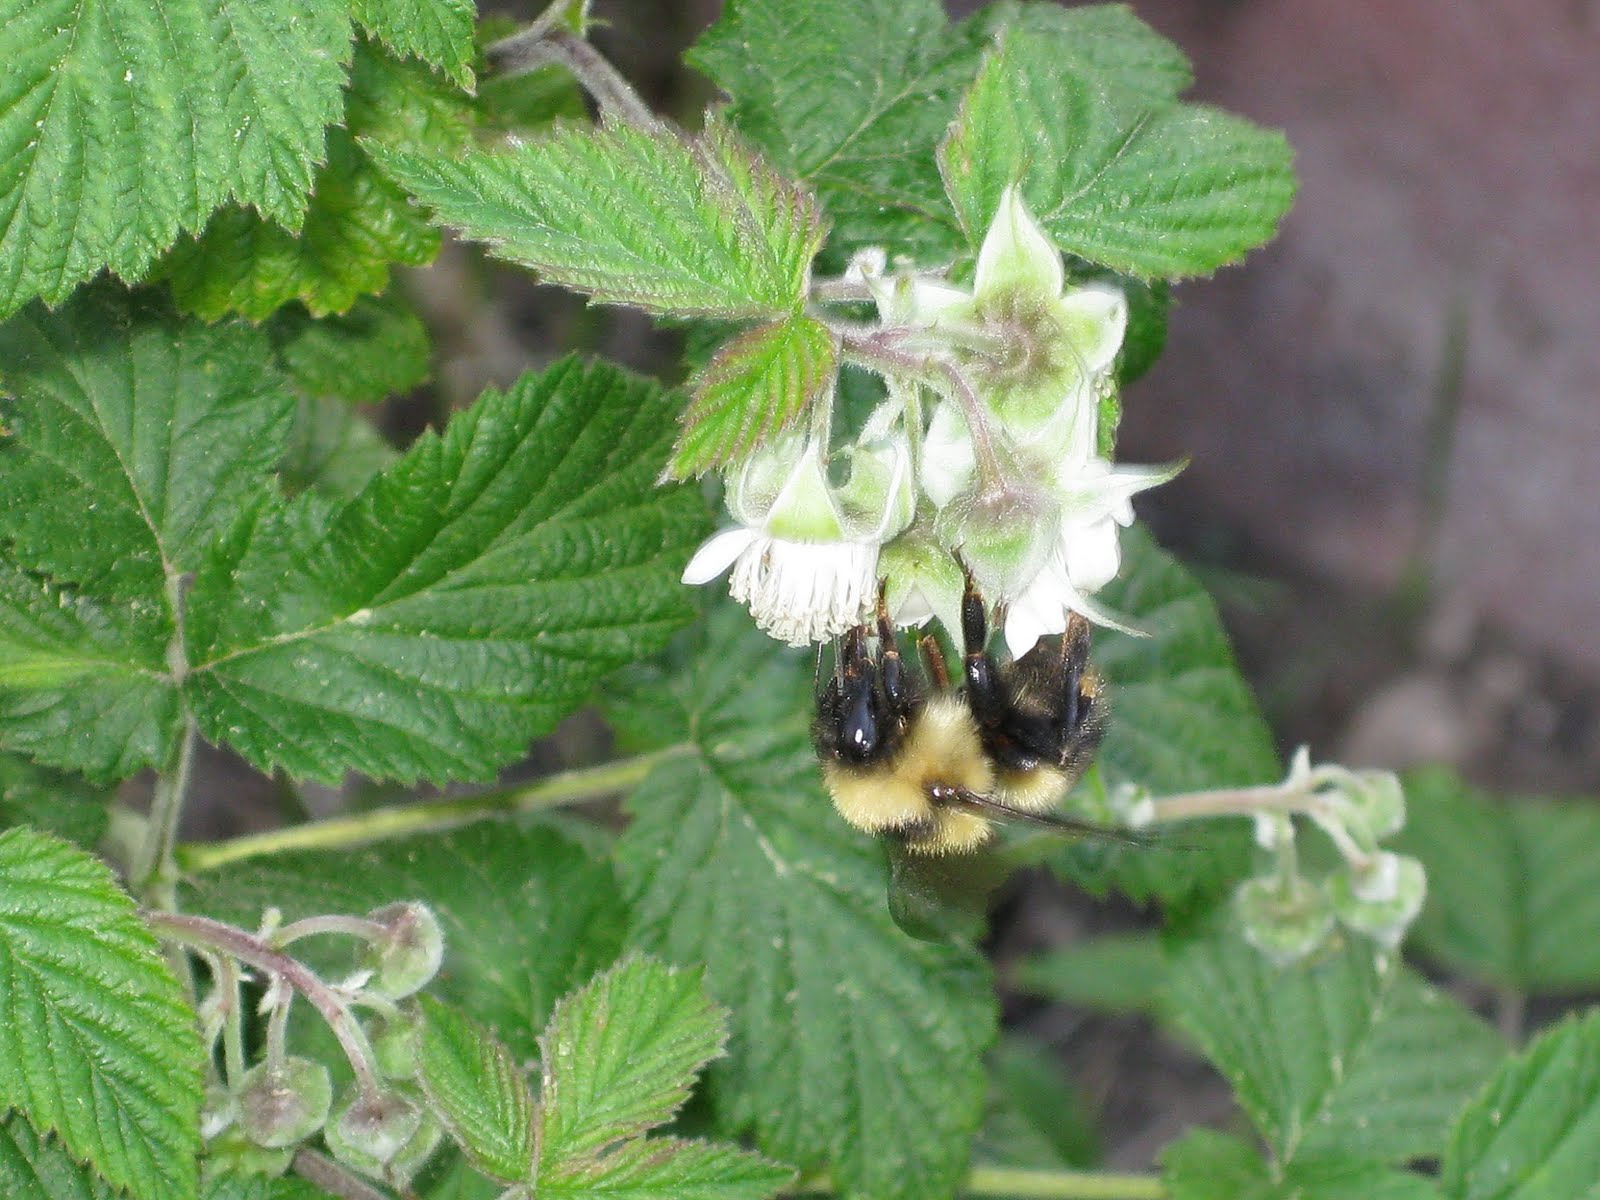
Amidst all the craziness, I managed to sneak outside to water and check on the progress of my raspberries. I was pleasantly surprised to see numerous bees busying themselves with my berries.  While not much of a photographer, the bees were beautiful and I couldn't help but snap a few pictures!

My raspberries are 'greening' up nicely.  I love summer!


May and June are months FULL of birthdays, parties and celebrations for our family and while they're always fun, I can't help but be a little relieved the hustle is over.  Well, almost.  Next weekend is a retirement party for my mother in law.  Hopefully I won't forget my camera and I can post some photos for family who aren't able to make it!!!

Tuesday, June 7, 2011

"Pink Party" Birthday Banner!

If you follow my incredibly crafty (and I mean that in a good way) niece Clare over at Clare's Contemplations
you are sure to have seen one of these banners, or two, or more.  Using her inspiration AND the inspiration I got at the Farm Chicks Sale this past weekend, I decided to make a banner to help decorate for Cayla's 10th "Pink Party" Birthday!  (I'm sure additional birthday party photos will be coming soon!) While not really a 'tutorial' kind of gal, I did provide a few descriptions under each photo, and if you ever realllllllly wanted a tutorial, I'm sure I could whip something up!  Enjoy, and be sure to click on the photos to see more detail!

For the pennants, I selected 5 pink fabrics in various patterns and shades.  Had I been shopping for the fabrics specifically for this banner, I may have made completely different choices, but I used fabrics I had on hand so I was a bit limited.
These are the pennants all cut out and ready to be sewn.  I cut out two pieces of fabric for each pennant so the banner would be uniform from the front and back.  That way it can be hung in the middle of a room, or draped from a doorway and is not limited to be hung on a wall.

Again, had I been shopping for this, I probably would have used EXTRA-Wide Bias Tape, but I happened to have pink wide bias so it actually worked out well.  One pack of this tape is 3 yards long (9 feet) and was sufficient for the banner I wanted.  I think it might be really cute to make several banners and string them together in various directions.  But for time's sake I could only make one.  (Note to self, must get 'bias-tape making machine' like Nikki has :)

Photo of the finished product.  I interspersed the pennants in a somewhat random order to adequately disperse the colors and patterns.  I cannot wait to make one of these in Americana fabrics.  How cute will that be?!

Thursday, June 2, 2011

Independence Day Crafts!!!

Yep, I've been crafting again.  I promise this won't turn into a crafter's blog....I don't have that many ideas, nor that much time :)  But my favorite holiday IS fast approaching, so I thought I would make a couple of items to get me in the spirit.  While I'm always my own worst critic, there must be something about these that I like because I was at least willing to post them!

This clip board was u-g-l-y before.  Someone (no names mentioned) had scribbled on the back, and there was something sticky on the front that I could NOT get off.  It looked terrible, so I decided to dress it up.  Seeing as how this is my first experiment using all of the materials I needed, it was definitely a learning curve.  Lesson #1 LET THE GLUE DRY BEFORE PROCEEDING WITH MOD PODGE :)  You know what's funny?....my spell check doesn't like the word 'podge'.  That makes me laugh!
I had to cover the back too because it would not only make it look cute when it's being carried, but it DID have writing on the back and I couldn't let that go!
This was fun and SIMPLE!  My sister and I have seen these rag wreaths at craft shows and we always SAY we're going to make one.  In short, I took a coat hanger and Cory used wire cutters to snip off the ends.  I then had him form it into the size circle I wanted and we hooked the ends together and secured them with electrical tape (imagine that? :)  I'm sure I still have a lot to learn, but I thought it turned out all right, and only took about an hour to complete.  p.s. I have NO clue how many pieces of fabric are on it, I was far too lazy to count!
Here is the wreath hanging on my fireplace.  I'm not sure how to keep the strips of fabric from falling over (any ideas?) other than to cut them shorter, or dip them in liquid starch (neither sounds fun), but for now, that's where it is!