Labels

Friday, January 27, 2012

A Banner & A Bag!

In early January I put away 8 Rubbermaids filled with Christmas decor.  So you can imagine my sadness when I hauled up my one, lone Valentine's decor box.  In an effort to expand my decorations for V-Day, I created this simple heart banner.  Made of 12 felt hearts, top-stitched and adorned with hand-sewn buttons, it gave a bit of flair to the window across from my dining room.  Now I only need to make about 700 more items so my Valentine decorations boxes can rival my Christmas boxes!

Heart banner; felt with buttons!

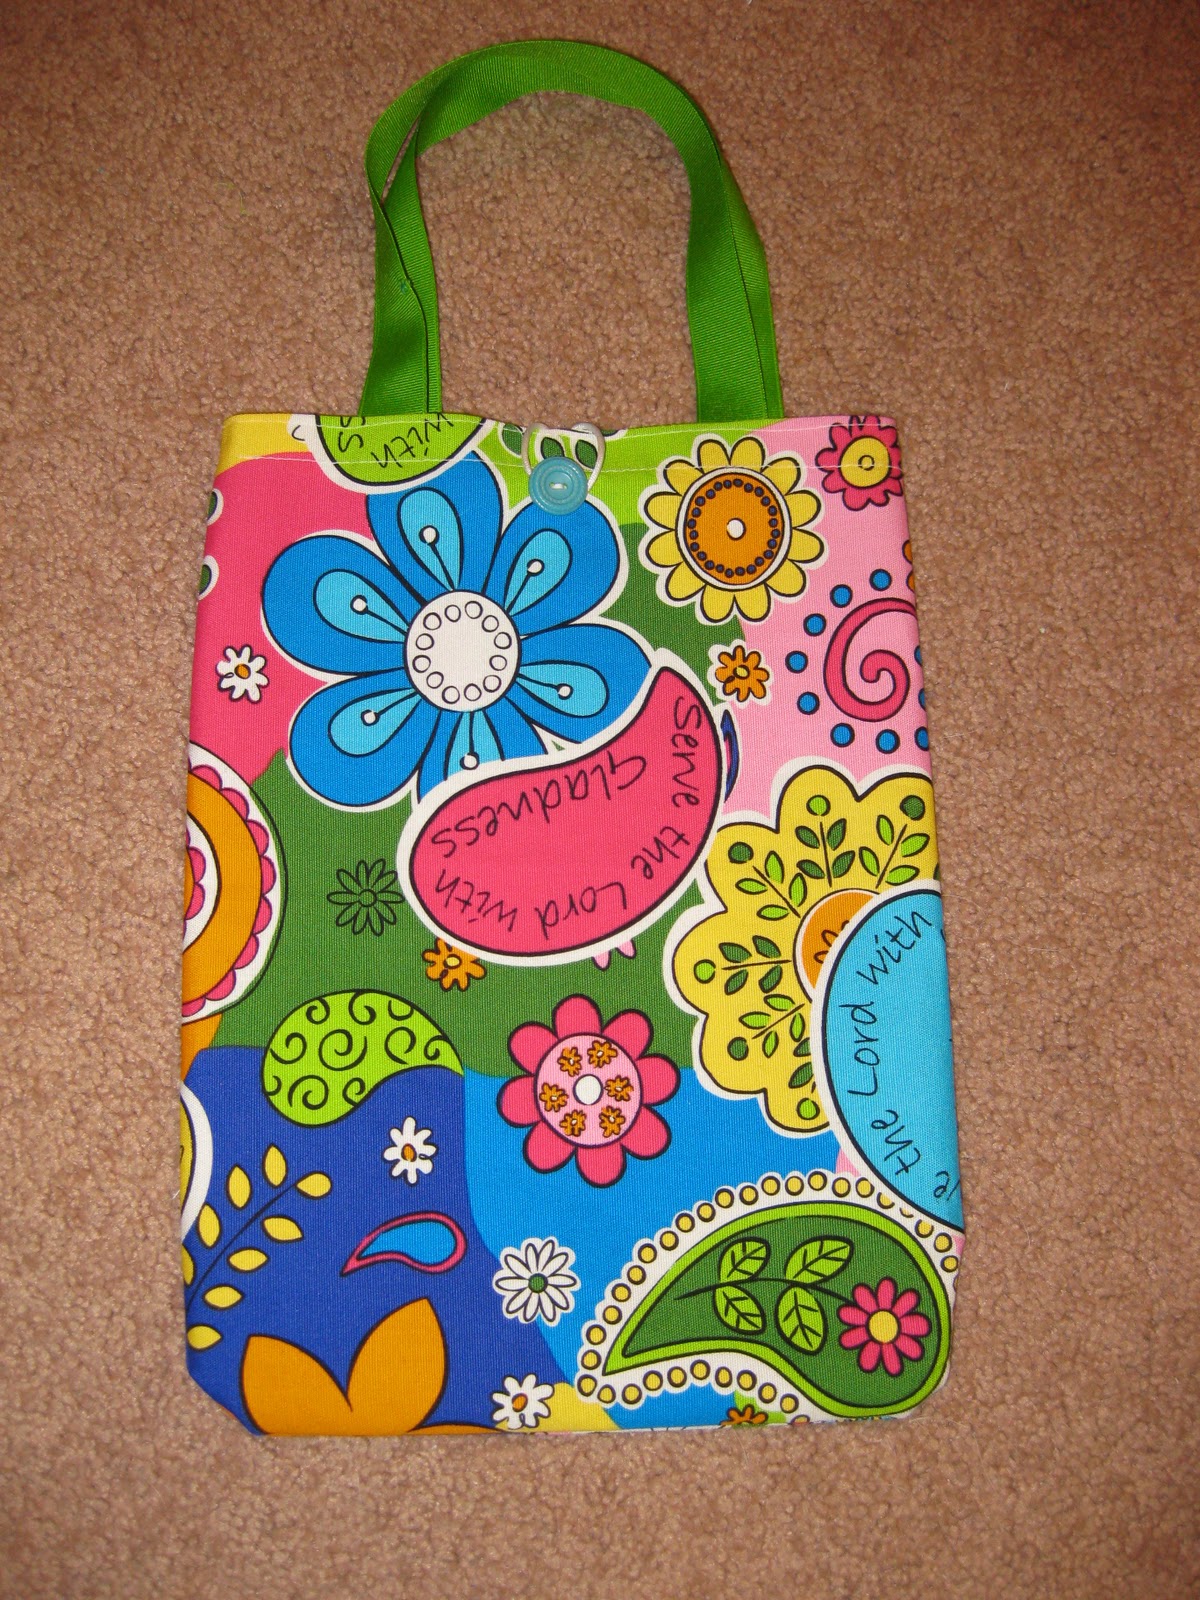
Last week at the LifeWay store I found this darling fabric placemat in the clearance section for a mere $.39 cents.  I couldn't resist.  I brought it home and Cayla instantly loved the bright colors; so tonight I created a simple church bag that she can't wait to carry with her next week!

Weekend Wrap-Up Party Here:

Monday, January 16, 2012

Owl Craze!

Inspired by a cute little stuffed animal my friend makes, I set out to design my own fluffy stuffie.  After looking online for a while, owls seemed like the most logical choice since they're easily identifiable just by the shape of their eyes and nose.
I created my own 'pattern' on paper and it took a bit to get the 'body' correct.  If it's too round, it looks more like a cat, so it needed just a bit of bulk.  After getting it where I wanted it, I sewed up the green owl in about 20 minutes.  The green one has jersey knit eye-whites which are reinforced with fusible pellon.  The other two are totally made of fleece so they went a little faster.  Cayla's is the pink one (named Hootie) and she chose white buttons for her eyes.  The purple one is just another demo I made to play with eye direction and shape as well as other features, like the hair bow and size of the nose.

At roughly 5" wide by 6" tall, they go pretty fast and require minimal materials, so I'm looking forward to shopping for some adorable buttons and maybe some crazy-patterned fleece (like plaid) to give them a ton of character.  OWL be sure to show you pictures as I create more of these little guys!

Friday, January 13, 2012

Not Your Normal Pancakes

It's no secret.....I love pancakes.  Well, really I love breakfast, and that includes anything of the pancake variety like waffles and french toast.  So it's no surprise that breakfast for dinner is almost a regular occurrence in our home.  And tonight it was the dinner of choice.  While Cory worked on sausage patties, I whipped up some whole wheat pancakes.  And to give them a little extra kick?  I added shredded coconut......but only to mine.  The rest of the family is not a fan of coconut, so those are all mine!

I'm pretty sure these pancakes count as healthy since they're made with whole wheat flour and the new wonder food....COCONUT!  The syrup probably negates the whole thing, but I didn't care.  They were heavenly!  And they were a cinch to make.  I cheated (What?  Shock!  Gasp! but we ARE talking about MY cooking here).  I started with a package of Hungry Jack Whole Wheat Pancake mix which only requires 1 cup of water, and then I added coconut to my hearts content.

PURE BLISS!!!!

Thursday, January 12, 2012

Heart Attack!

Although I'm trying to enjoy winter by keeping snowmen, snowflakes and January related decorations up in my home, my mind (with the help of Pinterest) keeps wandering to all things Valentines.  And due to my recent thumb surgery, sewing was not an option last week.  But this weekend, I figured I had nothing to lose, so I broke out the felt, pink fabrics and pinking shears to begin sewing up dozens of hearts.

I have to admit, the pinking shears hit my thumb in such a way that it was painful to cut, so I asked Cory to cut out the hearts and he kindly obliged.  Below is a sampling of the "heart attack" that took place in my sewing room......


Made of felt and cut with pinking shears, these sweet little hearts are two layers thick and top stitched in contrasting white.  The girls wanted some for themselves, and some to give to their friends.  These literally took MINUTES to whip up, and I learned that sewing small hearts is much easier in felt than other fabrics.  Because felt is stiff, it's easier to turn the heart as you sew.

These are two layers of cotton fabric, cut with pinking shears, and top stitched all the way around and then stuffed with a little batting to make them fluffy.

Simple and cute, they will really add to my Valentine's decorations.

On Tuesday my sister came over bearing these adorable little 'lacy' hearts in pink, red, white and purple felt.  I provided the ribbon and we strung up a simple banner to adorn our fireplaces.


A close- up of one of the pink hearts.  Simple to string into a banner, we had these done in just a few minutes.

Both of these projects were inexpensive, simple and quick.  An easy task for kids to help with, or to make for friends and family.

Happy Valentine's Day!

Wednesday, December 28, 2011

Blog Button!

If you're reading this post and you shift your eyes to the left....you will see my new blog button.  After noticing numerous buttons on other blogs, I thought I could make one for my blog, proudly advertising my denomination.  It was a piece.of.cake to create too.  Here's what I did:

1)  Go to picnik.com
2)  Click on 'upload a photo'
3)  Use an existing photo, or surf the web for a background (like my snowflakes) you like and save it to your computer.
4)  Follow picnik's instructions to create your picture (button).  Start by re-sizing the photo (picnik automatically sizes one of the sides, so if you pick '250' as your height, it will automatically adjust the width to be proportionate).  250 or roughly there is a good button size.
5)  Add your text in the box on the top left of picnik.  On the top right, you can change the font, and size and direction of your wording by playing around with it - it's all right there on the screen for you.
6)  Click on 'save photo' and save your picture to your computer.
7)  Open your blog and add a gadget (choose 'add photo' as your gadget).
8)  Click on 'image' and select the photo you just created in picnik.

There you go!  It's a lot simpler than my instructions make it seem!  You now have a button!  What a great way to advertise something about yourself, something you love, or an Etsy shop (if you have one :)

Wednesday, December 21, 2011

Bows and Bands and Bags oh my!

After searching high and low for perfect inexpensive, yet cute, headbands to coordinate with the girls' Christmas outfits, I finally gave up and decided to make my own.
I did purchase the basic headband.  In fact, it came in a pack of 6 with only 1 white one in the pack, so I had to purchase TWO packs.  But I only paid $5.00 for all twelve bands.  One store wanted to charge me $9 for a so-so headband that was a bit shopworn.  Pfffft!

I followed the tutorial shown here and it was pretty easy.  In fact, making the bow was the simple part.  Attaching it to the headband?  Not so much.  I pondered a variety of ideas, such as velcro, but none of them seemed to be exactly what I wanted.  I even considered hot gluing the bow to the band, but I'm cheap frugal and I thought I might want to use the headbands again.  So after much thought, I wound some embroidery floss through the bow and simply tied it to the headband.  Since the bow itself is all stitched together, I can just snip through the embroidery floss to remove the bow, thereby preserving both the bow and the headband.  Genius!

After this I think I'll invest in some clips that I can permanently attach the bows to, and then I can trade them out to match various outfits.  Oh who am I kidding?  My kids hate hair accessories.  In fact, I'm not even sure how I talked them into wearing them on Christmas.  But I did.  And that's the point!
Finally, I made the girls matching tote bags to carry on Sunday.  I plan to pack them with  fun, girlie things like lip gloss, tissues, notepads, knick knacks and of course money, because what fun is a bag without money?!   So now, their outfits are complete and matching from head to toe.

Merry 'Matching' Christmas!

Saturday, December 17, 2011

Christmas Clothes!

This afternoon I made the girls Christmas outfits.  After buying matching red tops, they each picked out the fabric for the skirt, and the Christmas tree applique on the shirt.  These were SO easy to make.  It took me about 3 hours from start to finish.  They can't wait to wear them to their grandparents on Friday night, then again to church on Christmas morning.

Each tree is the same, and contains fabric from Autumn's skirt, but I needed all the fabric to make Cayla's skirt, so her skirt fabric didn't make it onto the tree :(  I thought they coordinated really well though.
Here's a close-up of the tree.  Using the various fabrics, I applied Heat 'n Bond before cutting out the tree pattern.  Once cut, I ironed it on and top-stitched around the edges.  I finished it with a white bow tree-topper.  Sweet and simple.....just the way we like it!

Merry Christmas!