After repurposing tee-shirts into bags at co-op this morning, I was inspired to create yet another draw-string bag for each of the girls. Using a couple of tees that Cayla had outgrown, I made the first bag for Cayla. Tutorials aren't really my gift, but I tried to include a lot of pictures and will try to explain the steps - I know how I LOVE a basic tutorial when I'm ready to make something, so I assume there are others out there just like me!
 |
| This tee had a ruffle at the bottom, so I immediately cut that off with the intention of using it later for the draw strings - but we'll get to that. |
 |
| I then cut off the top of the tee, right underneath the arms - this way you're not dealing with the neckline and odd proportions from the sleeves. |
 |
| Once you've cut off the top and bottom of the tee shirt, you should be left with something like this - a big tube of fabric. |
 |
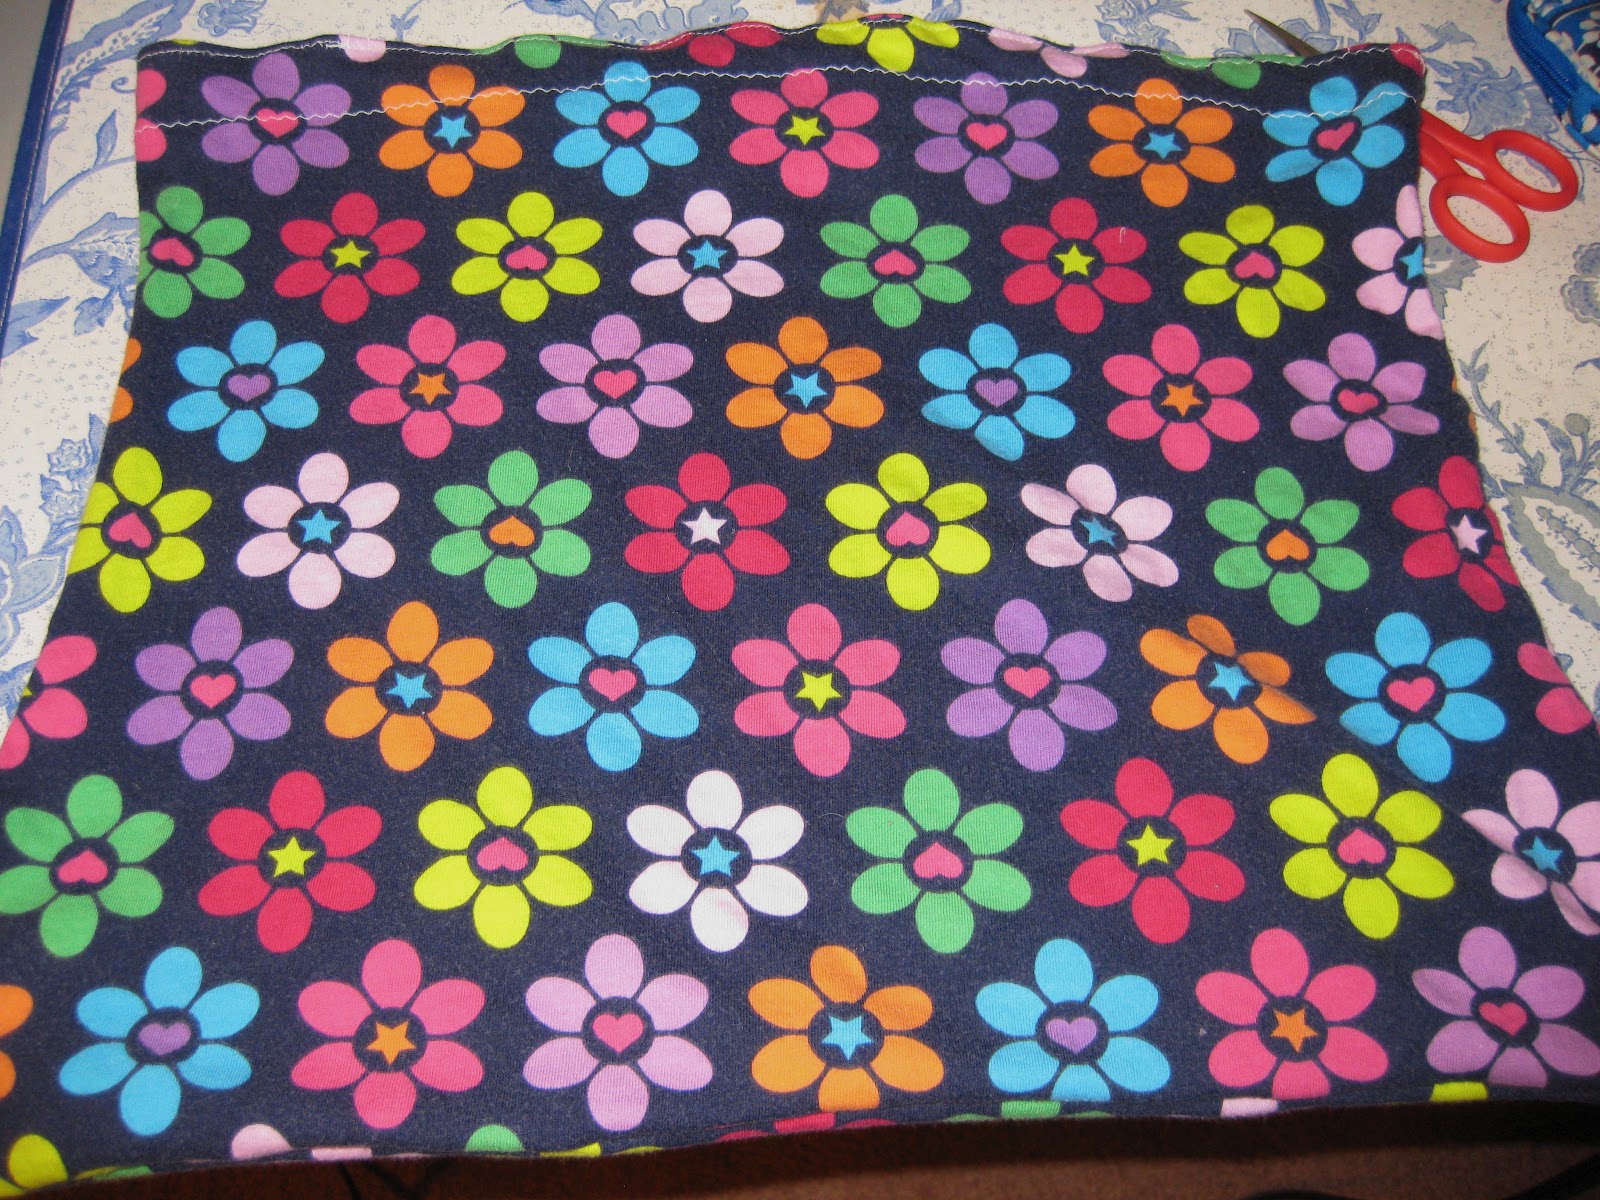
| I turned my tube inside out, so the flowers were on the inside, and then I rolled the fabric down a little to make a casing. I have no clue how big this casing is because I never measure anything. I then stitched all the way around the turned-down part of the casing, so in essence, I have a little hem at the top. I always like the hem to be 'crisp' so I create another stitch at the top of the hem. |
 |
| If you click on this photo and enlarge it, you will see that I have two stitch lines at the top around the casing. The stitching at the very top is not necessary, it's just what I prefer. Anyhow, after making the casing, flip your fabric around and sew the bottom of the bag closed. I usually use a zig-zag stitch here and I go over it twice to reinforce it. |
 |
| These little pieces are from that ruffle that I cut off at the beginning. You can use ribbon or new shoe laces or anything you want for your draw string, but I was experimenting with the same fabric as the bag just to see how it would turn out. I basically just took the ruffle and cut two long strips. Your draw string needs to be the width of your casing (width of your bag) DOUBLED, plus a little more to tie off. |
 |
| Once you have your draw string ready, place a safety pin on it to ease in threading it through the casing. Slip the safety pin through the hole in your casing (if you forgot to leave a hole in the casing, no big deal - it's jersey knit - just go back and cut a tiny one, I promise, it won't matter with this fabric and no one will notice). |
 |
| Here is my first drawstring - I ran it through the hole on one side of the casing/bag, and continued all the way around the casing until it came out the SAME side. Now take your other draw string, attach the safety pin and run it through the other hole. Be sure to go all the way around your casing and come out the hole where you started this string. Now you have a double draw string. |
 |
| Here are my drawstrings after they've both been run through the casing. The one on the left started in the left casing hole and came out the left casing hole. The one on the right started in the right casing hole and came out the right casing hole. Trust me, it's easier than it sounds. I mean, you have seen a draw string bag before so I'm sure you get it. (You can also have a single drawstring by running one string through the casing and leaving it at that - but I like a double one because then you can firmly grasp a side with both hands and really yank it closed.) |
 |
| Once the strings are in place, tie a knot in the ends of each set of strings to prevent them from slipping back into the holes in the casing. |
 |
| That's it! The instructions make it seem a lot more complicated than it is - but trust me, it's simple. I basically learned to do it by just trial and error. |
 |
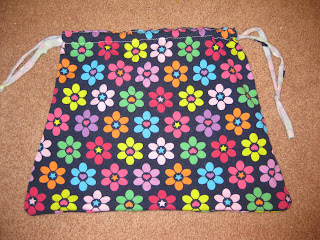
| I decided I didn't care for the draw strings made of the tee shirt fabric because knit has a propensity to roll up and this one chose to roll the WRONG way, so it looks like I used white draw strings instead of matching ones. |
 |
Autumn's bag is the exact same style and size however hers has drawstrings made from coordinating pink and blue gross grain ribbon.
I have made countless draw string bags and they're ideal for just about everything - but mostly my kids love them because they have an extreme fondness for bags, just like their mom :) |


1 comment:
I am thinking about making a bag for Josie from the bottom of a pair of jeans. That should be right up my beginner's alley- just a straight stitch at the bottom and a couple of handles from ribbon. We will see if it ever materializes...
Post a Comment